what we’re making
Hello! It’s Lynda here from Homelea Lass and I’m glad that you’re joining me in making the Hug Blanket.
At one stage in my chronic fatigue healing journey, I discovered that I was completely bound by so many outside expectations and I put making everyone else happy far above looking after myself. These restrictions wrapped tightly around me and left me stressed, busy and anxious. As I tried to please everyone else I’d lost touch with who I really was and what made me happy.
Arm crocheting the Hug Blanket helped me to put myself first and I’d love for you to experience this too. Set the intention of self-care and as the movements of your body bring your blanket to life, breathe deeply into your body and wrap yourself in love.
I hope making this blanket is joyful for you, and that it continues to wrap you in love (or whoever you’re making it for) for many years.
Let’s get started!
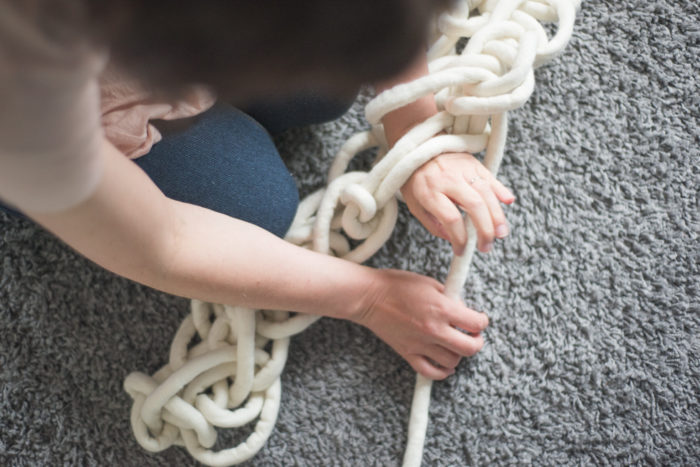
The Hug Blanket below is made with natural Homelea Hug, and it’s the Little Snuggles size.
![]()
![]()
![]()
introducing arm crochet
Arm crocheting uses the same stitches as traditional crochet and your hand and arm act as a massive crochet hook. Your arm is the stem of the hook and your hand grabs and holds the yarn.
I recommend arm crocheting where you’ve got plenty of room to move – this is not the kind of crochet that you can do in the car!
what we’re making
We’re going to arm crochet your Hug Blanket using the jumbo Homelea Hug yarn. Your arms and hands will form the crochet stitches.
In this design, I’ve deviated from traditional crochet by not turning the work at the end of the row and instead swapping arms. You right arm is used to arm crochet from right to left and your left arm is used to arm crochet from left to right. I’ve included which arm to use for which row in the pattern.
We’re making the textural Hug Blanket in 6 sections:
- get ready
- part 1: up to row 1
- part 2: up to row 5
- part 3: up to row 15
- part 4: up to row 25
- part 5: finishing
it’s good to know
- This blanket is reversible so you can choose which side you want to be the right side or front.
- I’ve discovered that it helps to put a stitch marker at the first and last stitches of each row as this helps with getting the number of stitches the same in each row.